


Are you looking to learn how to build a simple API using Mux in Go? Look no further! In this blog post, we will walk through step-by-step instructions on how to create your own "Hello, World!" API using Mux in Go. We will cover the prerequisites you need, setting up the project, writing the logic, and finally running and testing the API. By the end of this tutorial, you will have a good understanding of how to use Mux in Go to build simple APIs. So, let's get started!
Prerequisites
To get started with this project, make sure you have the following prerequisites:
Go installed on your system.
Basic understanding of Go programming language.
A code editor such as VSCode, Sublime, etc.
Setting up the project
Start with creating a project folder name mux-api-project, and then open that folder. You can do it by the terminal by following commands.
mkdir mux-api-project
cd mux-api-project
Next, create a file named main.go and open it. This is where we will write all the logic for our API. To create main.go we can use the following command.
touch main.go
After creating the main.go file, we need to initialize a go.mod file to manage our dependencies. However, we don't need to worry about managing dependencies manually because Go will handle them for us automatically.
go mod init github.com/<your-github-username>/mux-api-project
It will create auto create a go.mod file.
After that, we need to install the mux package by the following command.
go get github.com/gorilla/mux
After you execute the above command it will add the dependencies to go.mod the file and add auto-create a go.sum file, which works as a checksum for the dependencies.
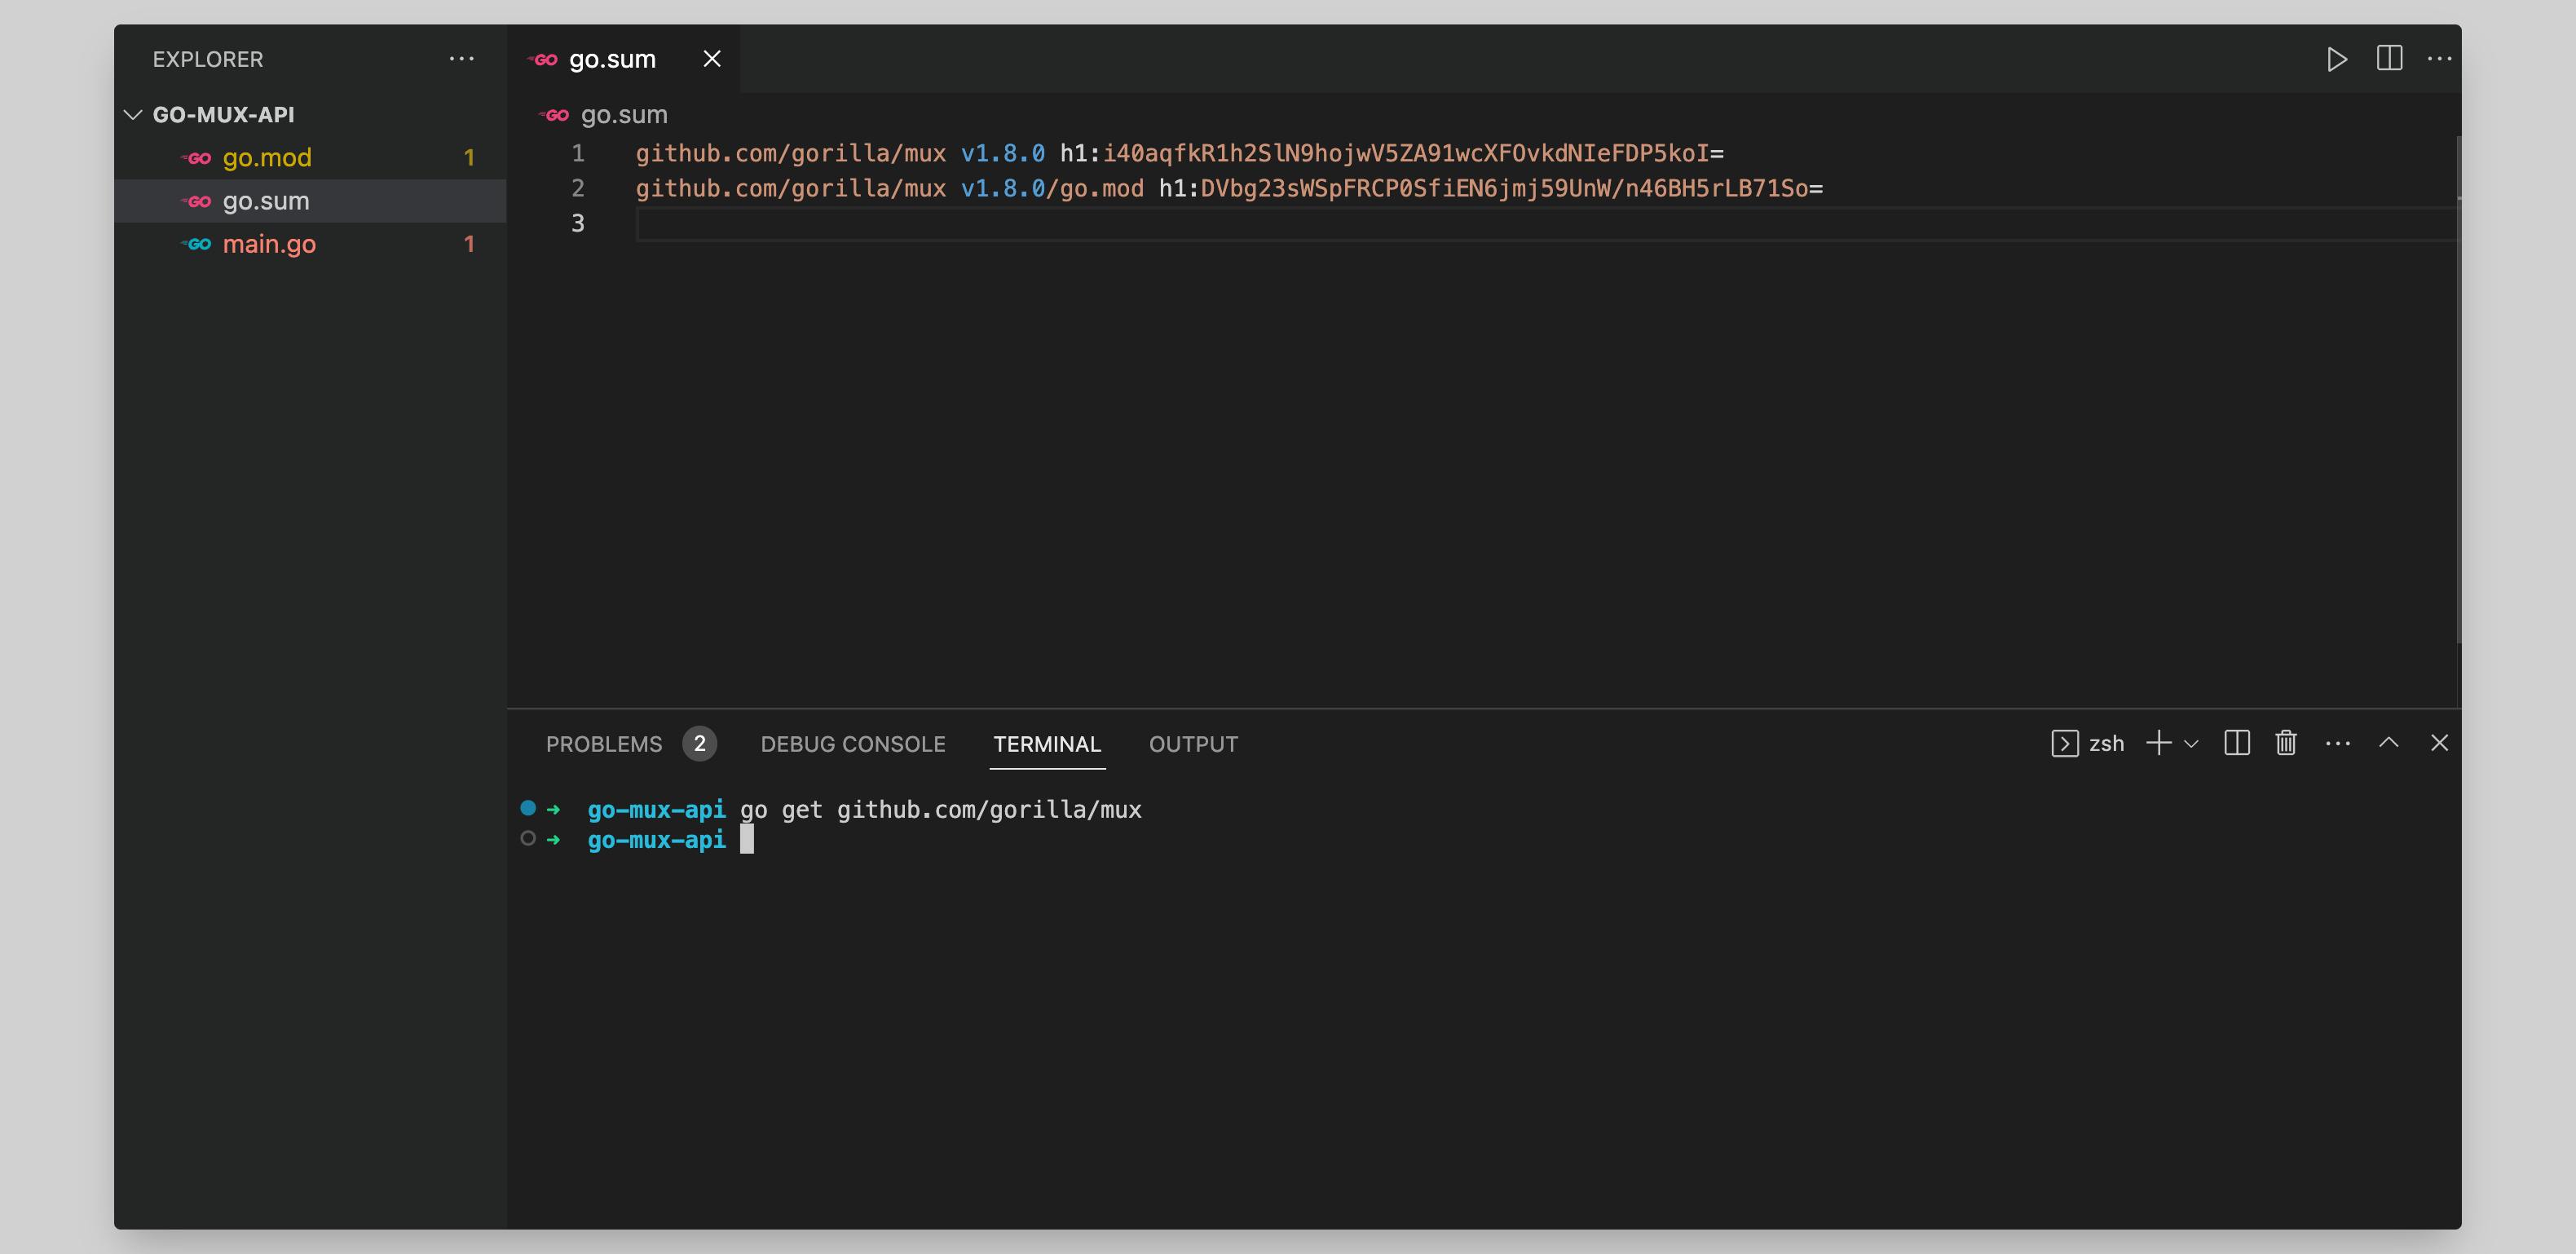
Now your file/folder structure will look something like this (If you are in VSCode)
Writing the logic
Now that we have everything set up, including mux, let's start writing the logic for our API. To do this, open the main.go file and import the mux and some build modules in main.go to use them in further steps.
package main

import (
    "fmt"
    "log"
    "net/http"

    "github.com/gorilla/mux"
)
Now let's create a main() function with the below logic.
func main() {
    r := mux.NewRouter()

    r.HandleFunc("/", func(w http.ResponseWriter, r *http.Request) {
        w.Write([]byte("Hello World!"))
    })
    fmt.Println("Server is starting at port 8080")
    log.Fatal(http.ListenAndServe(":8080", r))
}
Now, let's review the logic we just wrote. We created a router r := mux.NewRouter() using mux, which will handle all the routes using a built-in function called HandleFunc().
HandleFunc() takes two parameters: the first is the route, and the second is a function that will handle our response and request. The w.Write() the function will allow us to send a response when someone hits the / route.
Finally, we need to specify the port and router to which our requests will be sent for listening.
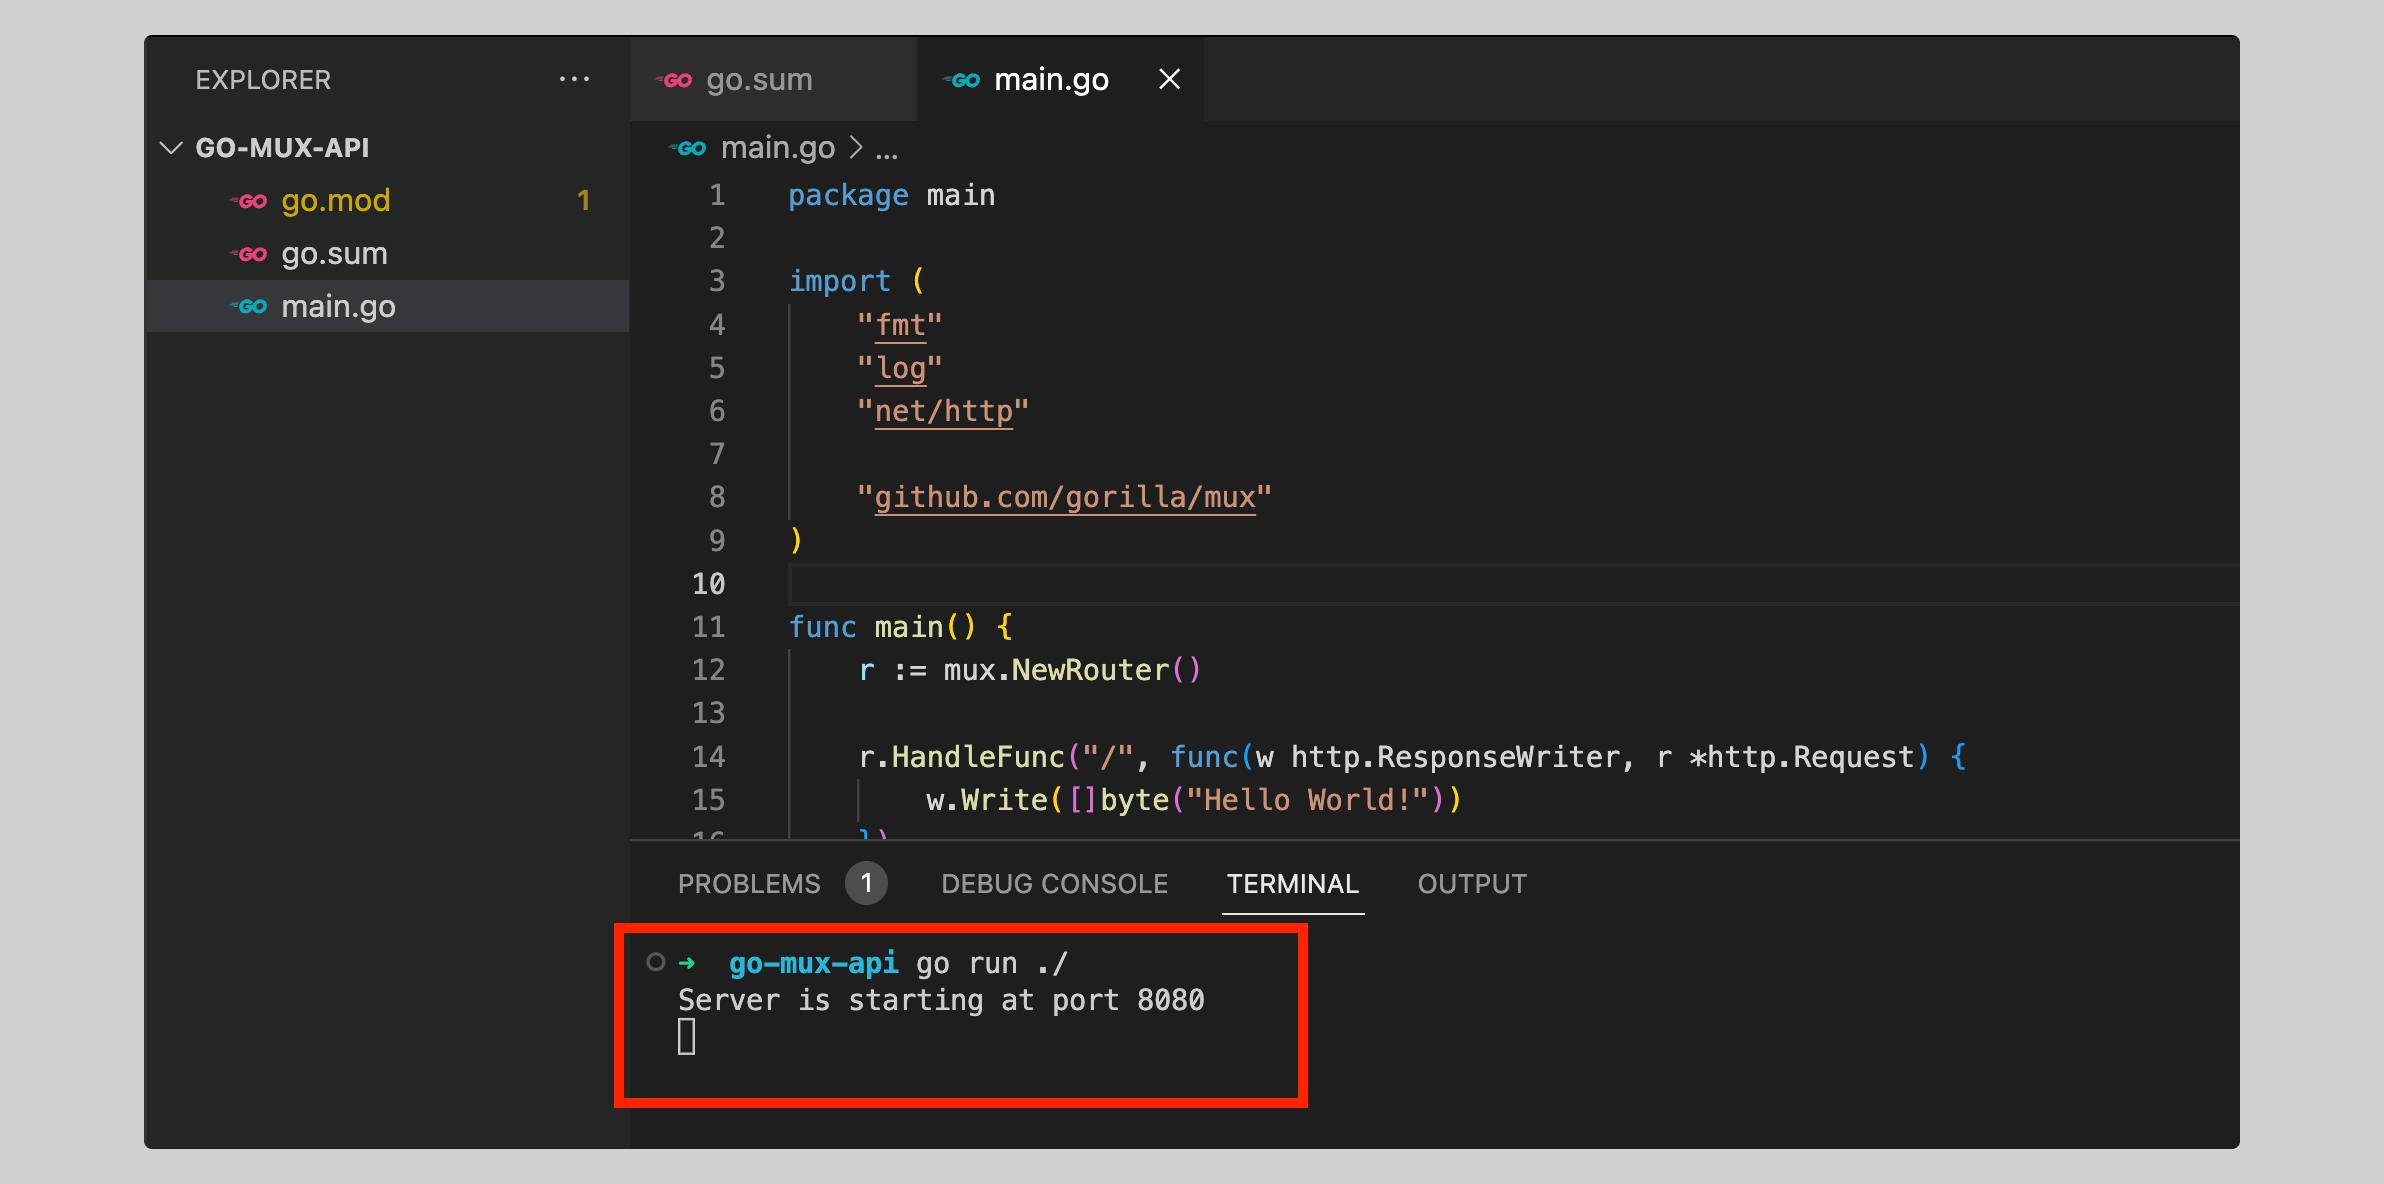
The complete main.go logic will look like this:
package main

import (
    "fmt"
    "log"
    "net/http"

    "github.com/gorilla/mux"
)
func main() {
    r := mux.NewRouter()

    r.HandleFunc("/", func(w http.ResponseWriter, r *http.Request) {
        w.Write([]byte("Hello World!"))
    })
    fmt.Println("Server is starting at port 8080")
    log.Fatal(http.ListenAndServe(":8080", r))
}
Running and testing
We are almost done. Open the terminal, make sure you are inside the mux-api-project dir or you can open the integrated terminal of VScode. Start the server by following the command:
go run main.go

or

go run ./
You will get promoted with a message in the terminal. Something like this
Now, open a web browser and navigate to localhost:8080**.** You will welcome with a Hello World! message.
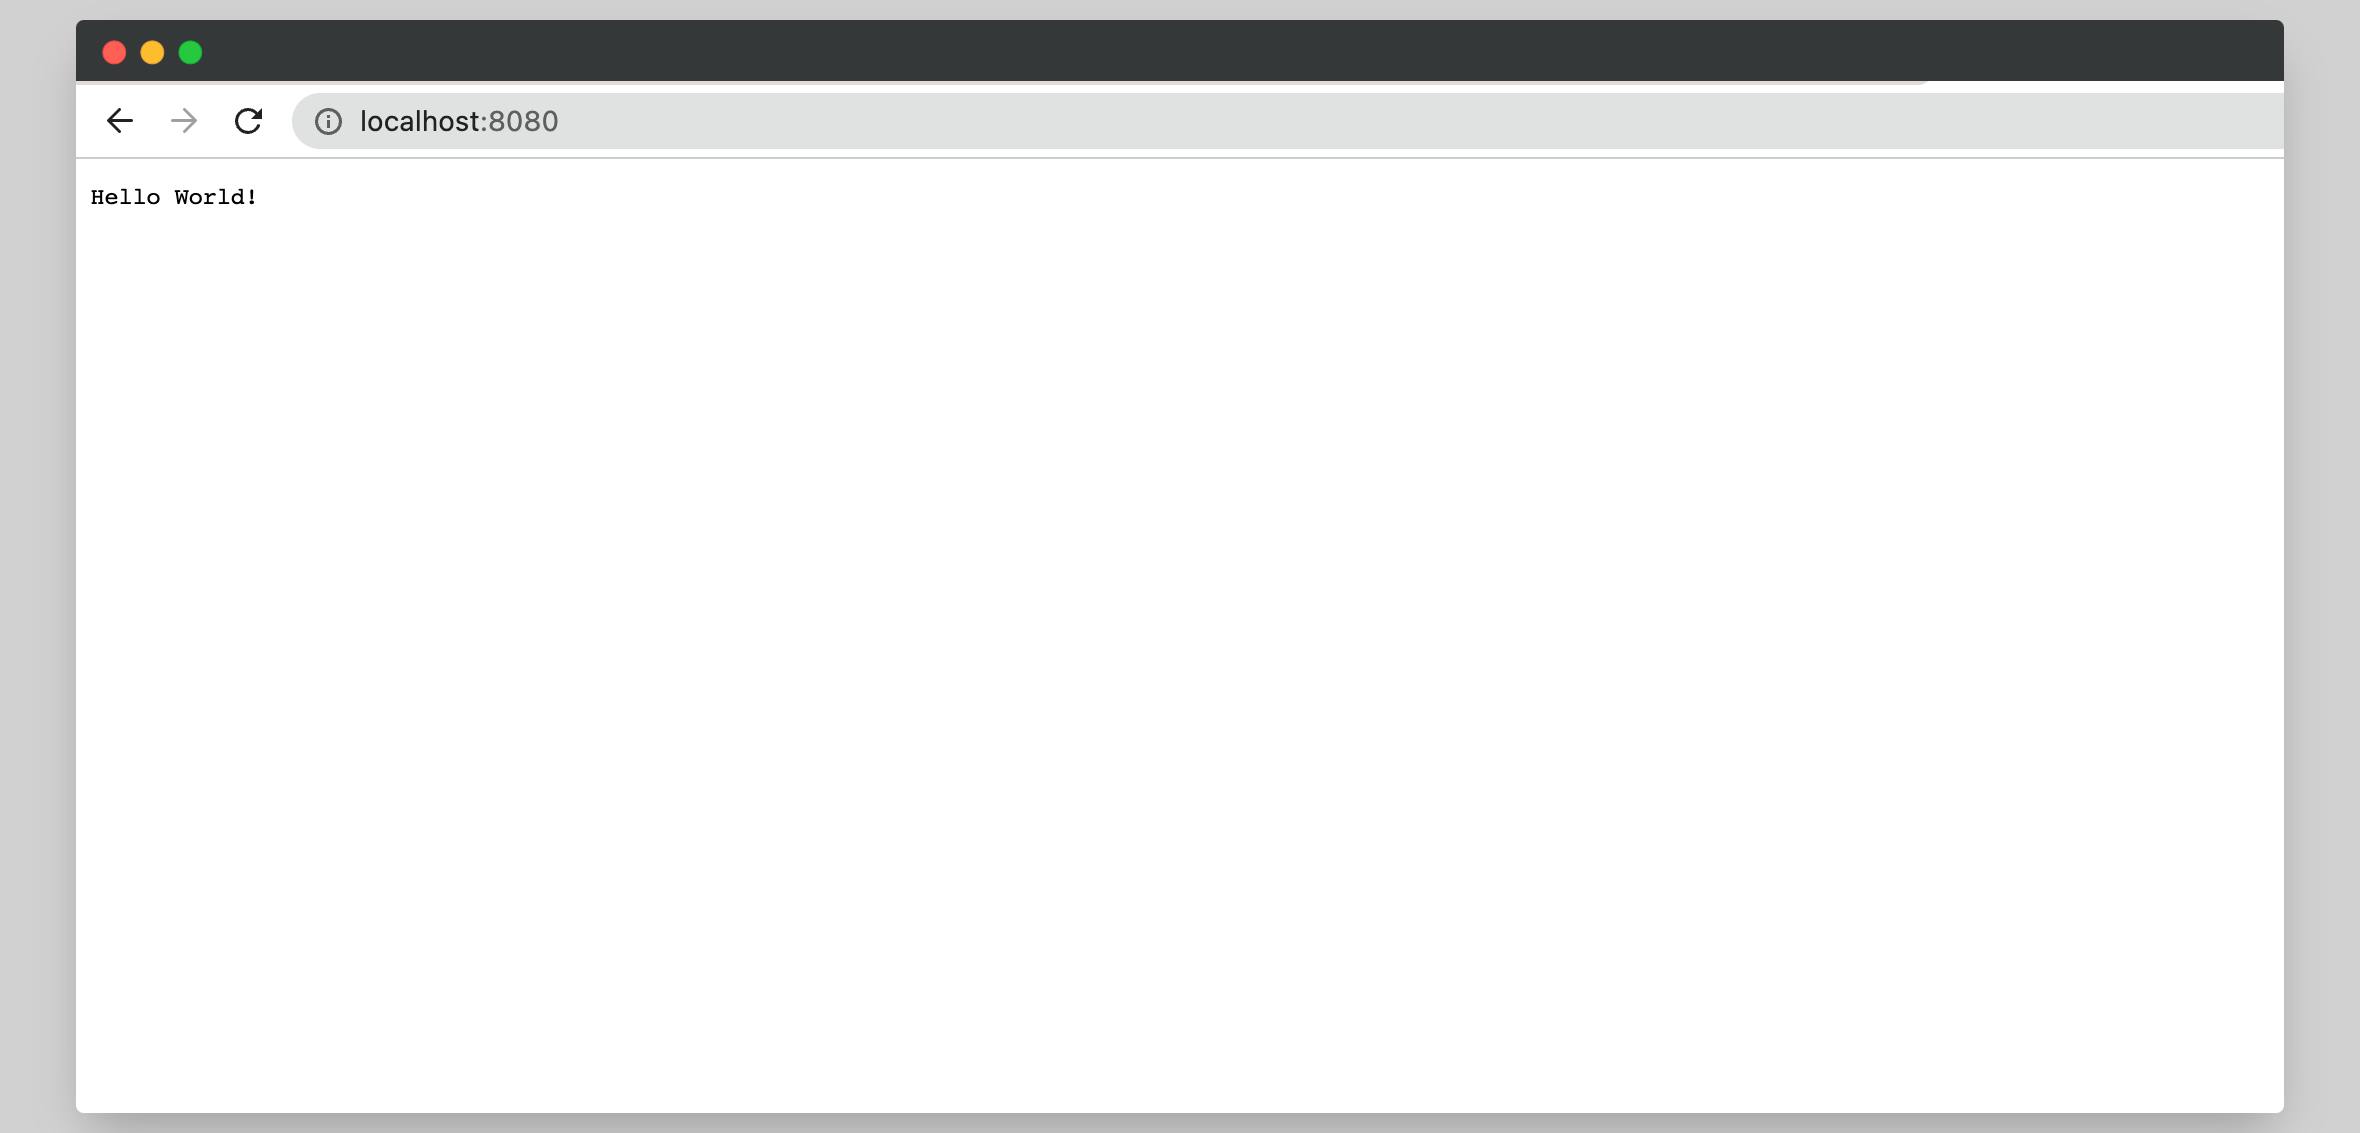
Congratulations to you for building your own "Hello, World!" API using Mux! 🎉
I hope you learned something from this blog. If you have, don't forget to drop a like, follow me on Hashnode, and subscribe to my Hashnode newsletter so that you don't miss any future posts. If you have any questions or feedback, feel free to leave a comment below. Thanks for reading and have a great day!